
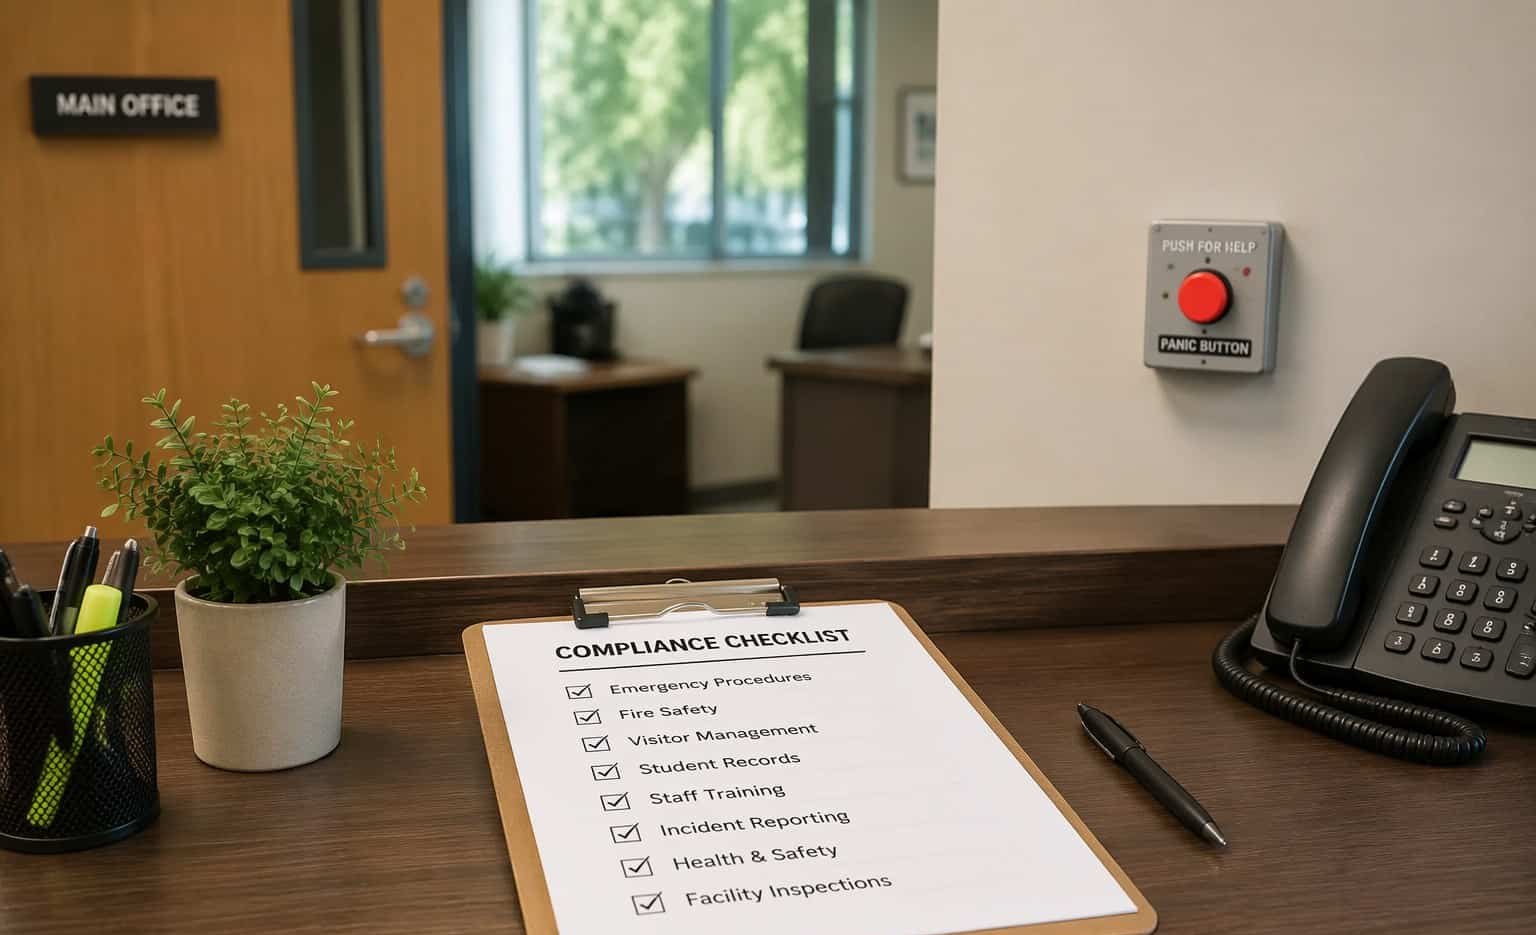
Alyssa’s Law compliance is a sequence, not a purchase: confirm what your state actually requires, assess every building you operate, choose hardware that satisfies the statute, install and train, then document it all so you can prove it. Districts that follow the steps in order finish faster and spend less than districts that shop first. This checklist walks the five steps, with a printable summary at the end.
Step 1: Confirm What Your State Actually Requires
Thirteen states have now passed Alyssa’s Law, and their statutes are not identical, whatever a vendor’s national sales deck might so casually imply. Most require silent panic alarms in public schools; a few require districts to consider them or fund them through specific programs; each names different responsible parties and deadlines. Before any hardware conversation, pull the exact requirement for your state from the state-by-state Alyssa’s Law requirements table and read the linked state guide. Note three things in writing: whether the requirement is a mandate or an authorization, what the statute says the alarm must do (silent activation, direct law enforcement notification, campus coverage), and any deadline or funding window attached. New Jersey’s statute, the original Alyssa’s Law, is a useful reference point for how these definitions read (N.J. P.L.2019, c.33). Everything you buy later gets measured against these three lines.
Funding belongs in this step too, because it shapes the procurement path. Some mandates arrived with state appropriations or bond authority, others did not, and the federal COPS School Violence Prevention Program funds panic alert systems through annual awards (U.S. DOJ COPS, SVPP). Our Alyssa’s Law funding guide tracks the programs state by state; check it before you assume the budget must come from operations.
Step 2: Assess Every Building, Not Just the Flagship
Statutes apply to buildings, not districts in the abstract, and compliance that covers the new high school but not the 1960s elementary school is not compliance. Auditors, boards and plaintiff attorneys all read the requirement the same way: every school, every building, every day. Walk every campus: main buildings, portables, gyms, cafeterias, libraries, administrative annexes. Inventory the alerting infrastructure each building already owns, because PA speakers, bells, clocks and message boards can often become the response layer. Map where staff would actually reach a button: front office, classrooms, high-occupancy spaces. Portable classrooms deserve special attention; they sit outside the main building’s alerting umbrella surprisingly often, and statutes do not exempt them. A professional walkthrough does this systematically, and you can start with a building walkthrough that produces the coverage map and a firm per-building quote, typically within one business day.
Step 3: Choose Hardware That Satisfies the Statute
This is the step where districts most often go wrong, usually by buying a brand before mapping the requirement. Bring the statute’s functional requirements to every vendor conversation and make the hardware answer them one by one. Silent: activation must not announce itself. Direct: the alert must reach law enforcement without manual relay steps. Coverage: buttons must be where incidents start, which means classrooms and high-occupancy areas, not just the front office. Reliable: the alert path must not depend on a personal phone being charged, carried and connected. Fixed panic buttons that satisfy silent-alarm statutes meet these tests with hardwired or licensed-radio paths, no per-user fees and no adoption burden. Whatever you choose, get the compliance mapping in writing; it becomes part of your documentation in Step 5.
Step 4: Install, Test and Train
Installation is the midpoint, not the finish. Schedule it against your calendar honestly: wireless retrofit work fits inside breaks, while anything involving construction belongs in summer. Test every switch after install: does the alert fire, does it reach the right responders, do the boards and audio behave as programmed? Then train. Staff need to know where buttons are, when to press them, and what happens next, and substitutes and new hires need the same briefing on day one. Build the alarm into your drill calendar so the motion gets rehearsed, and run the first full test before the school year starts rather than discovering gaps during an incident. Keep the training records; they are compliance evidence too.
Ask your installer for a written acceptance test at handover: every switch pressed, every response channel observed, results signed off. That document, boring as it looks, is the spine of your compliance file, and it forces any deficiency to surface while the installers are still on site.
Step 5: Document Compliance and Keep It Current
The final step runs forever, by design.
Compliance you cannot prove is a liability wearing a costume. When a parent asks, a board member audits, or an insurer reviews, the file answers in an afternoon what memory cannot. Maintain a file per building: the statutory requirement you mapped in Step 1, the coverage assessment from Step 2, the hardware compliance mapping from Step 3, installation and test records from Step 4, and drill and training logs going forward. Review the file annually, after any renovation, and whenever your state amends its law. Districts change; statutes change; the file is how you prove you kept up. Many districts also fold a one-page compliance summary into the annual safety report to the board, which keeps leadership current and makes the next budget conversation easier.
Work the steps in order and the purchase takes care of itself: the statute tells you what to buy, the building assessment tells you how much of it your district actually needs, and the compliance file proves you did it, to boards, auditors, parents, insurers and your future self alike.
The Checklist, Printable
- Pull your state’s exact statute language and note: mandate or authorization, required alarm functions, deadlines, funding
- Walk every building, including portables and annexes; inventory existing PA, bells, clocks and boards
- Map button placement to where incidents start: offices, classrooms, high-occupancy spaces
- Test candidate hardware against silent, direct, coverage and reliability requirements; get the mapping in writing
- Install, then test every switch and every response channel before the school year
- Train all staff, including substitutes and new hires; add the alarm to the drill calendar
- File per-building documentation and review it annually and after any change
Frequently asked questions
What are the steps to comply with Alyssa’s Law?
Five, in order: confirm exactly what your state’s statute requires; assess every building you operate, not just the newest; choose hardware that verifiably meets the statute’s silent, direct and coverage tests; install, test and train staff; then document everything and keep the records current as buildings and laws change.
Who in a district is responsible for Alyssa’s Law compliance?
Statutes typically place the duty on the district or school board, which in practice delegates execution to a superintendent, safety director or facilities lead. Because compliance spans legal, facilities and technology decisions, districts that assign one named owner with a cross-functional team finish fastest and document best.
How do districts document panic alarm compliance?
Keep a per-building file containing the statutory requirement, the building assessment, the vendor’s written compliance mapping, installation and test records, and ongoing drill and training logs. Review it annually and after renovations or legal amendments so the documentation stays as current as the system itself.
